How to Restore Old Photos with AI on Android (2026)
This guide covers digitizing prints, what AI can actually repair, and how to keep restored old photos looking real — step by step on Android in 2026.
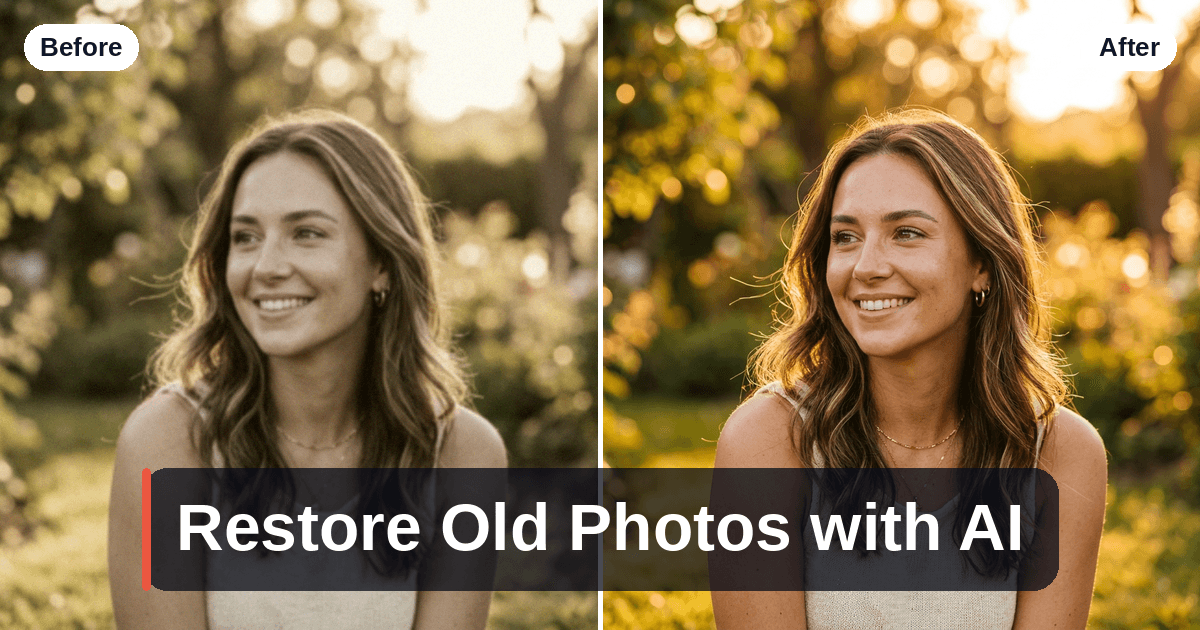
To restore an old photo with AI on Android in 2026, scan the print, then denoise, upscale and color-correct it in that order.
You digitize the print with a good scan, then run it through an AI pipeline that does those three jobs in sequence. The results can be genuinely striking — faded, grainy prints come back sharp and vivid — but the trick is restraint, so the photo looks restored, not repainted. SensePose handles the denoise, 2× neural upscale and auto color-grade steps in one pass, and keeps cloud processing opt-in and non-retained. Here's the full workflow.
Step 1: Digitize the print properly
AI can only work with what you give it, so a good capture is half the job.
- Use a photo-scanning app, not a straight photo of the print. Apps like Google's PhotoScan capture several angles and merge them to remove glare — far better than a single snapshot that catches reflections.
- Flatten the print under glass if it's curled, and shoot in soft, even light (near a window, not under a single bright bulb).
- Fill the frame with the photo and keep the phone parallel to it, so you're not fighting perspective distortion later.
- Capture at full resolution. More real pixels going in means more for the AI to reconstruct from.
A clean, glare-free, well-lit scan will out-restore a mediocre one no matter how good the AI is.
Step 2: Denoise before you sharpen
Old prints carry grain, dust and scanning noise. If you sharpen first, you amplify all of it into crunchy speckles. The correct order is:
- Denoise to clean grain and scan artifacts.
- Upscale / sharpen to reconstruct edges and detail.
- Color-correct last, once the image is clean.
Good AI apps enforce this order automatically. If you're editing manually, do it yourself — it's the single biggest quality lever in restoration.
Step 3: Upscale to recover detail
Old photos are often small, soft, or both. Neural super-resolution reconstructs plausible texture — hair, fabric, foliage, architecture — from the degraded source, which is what makes a fuzzy print look sharp again. A 2× upscale is usually plenty; chasing 4× or 8× from a low-quality scan invites artifacts and that over-smoothed, "plastic" look.
For faces specifically, use a light touch. Aggressive models can "beautify" a face into someone slightly different — smoothing away the very features that make the photo that person. The goal is recovery, not a new face.
Step 4: Fix color and fading
Time does predictable things to prints: contrast flattens, colors shift (often toward yellow or magenta), and blacks turn muddy. AI auto color-correction re-establishes a neutral point and restores contrast. For black-and-white photos, some tools offer AI colorization — treat it as an interpretation, not a restoration, and always keep the original monochrome version too.
What AI can and can't restore
| Damage | AI result |
|---|---|
| Fading, low contrast, color shift | Excellent — reliably corrected |
| Grain, noise, scan speckle | Excellent — denoising handles it |
| Softness / low resolution | Very good — super-resolution reconstructs detail |
| Small scratches, dust, creases | Good — inpainting fills them plausibly |
| Large tears, missing regions | Partial — AI guesses; verify it invented something reasonable |
| Faces damaged beyond recognition | Limited — it may fabricate features |
The rule: AI is excellent at degradation (fade, noise, softness) and good at small damage (dust, minor scratches). For missing information — a torn-off corner, a face that's half gone — it's guessing, and you should check that the guess is faithful before treating it as the truth.
Step 5: Keep it honest
Restoration ethics matter, especially for family history:
- Always keep the original scan unedited. The restored version is an interpretation; the scan is the record.
- Don't over-restore. A little grain and warmth reads as authentic. A glassy, hyper-sharp result reads as fake and loses the photo's character.
- Flag colorized black-and-white as colorized. The colors are invented, not recovered.
- Verify invented detail. If AI filled a torn region or a damaged face, make sure it didn't change who or what is in the photo.
Doing it on Android, start to finish
- Scan the print with a multi-angle scanning app to kill glare.
- Open the scan in SensePose (or import it) and run the enhance step — it denoises, 2× upscales and auto color-corrects in one pass.
- Check the result at 100% for over-smoothing, especially on faces.
- If a face or region looks off, back off the strength or keep it lighter.
- Save the restored version alongside the original scan, not over it.
Because SensePose's core enhancement runs on-device, most restorations never leave your phone. The optional cloud enhancer — for higher quality on large or badly degraded scans — is opt-in, processes a single image on a secure server, and deletes it immediately after returning the result.
FAQ
How do I restore an old photo with AI on Android?
Scan the print with a multi-angle scanning app to remove glare, then run the scan through an AI enhancer that denoises, upscales and color-corrects. In SensePose, import the scan and use the enhance step, which does all three in one pass. Always save the restored image alongside the original scan rather than replacing it.
Can AI really fix faded and damaged photos?
Yes for the common kinds of damage — fading, color shift, grain and softness are reliably corrected, and small scratches or dust can be inpainted convincingly. Large tears or missing regions are harder: AI fills them with a plausible guess rather than recovering what was lost, so you should verify it didn't invent something inaccurate.
What's the best way to scan old photos with a phone?
Use a dedicated photo-scanning app that captures multiple angles and merges them to eliminate glare, rather than taking a single photo of the print. Flatten curled prints under glass, shoot in soft even light, fill the frame, and keep the phone parallel to the photo. A clean scan dramatically improves the AI restoration that follows.
Will AI restoration change what people look like?
It can if you push it too hard. Aggressive face models smooth and "beautify" in ways that subtly alter features, and reconstructing a badly damaged face means the AI is guessing. Use a light touch on faces, compare against the original, and keep restoration faithful to who the person actually was.
Is it safe to restore private family photos with a cloud app?
It depends on the app's data policy — always check whether photos are retained or used for training. SensePose runs its core restoration on-device so most photos never leave your phone; its optional cloud enhancer transmits over an encrypted connection, processes one image on a secure server, and deletes the copy immediately, never training on your images.
Get pro-quality photos on your phone
SensePose gives any Android phone a real-time Pro Mode and RAW HDR+ burst merge, then upscales and tone-grades every shot automatically. Free on Android.